We’re an affiliate
We hope you love the products featured in our articles. Just so you know, we may collect a share of sales or other compensation from the links on this page. Thank you if you use our links, we really appreciate it!
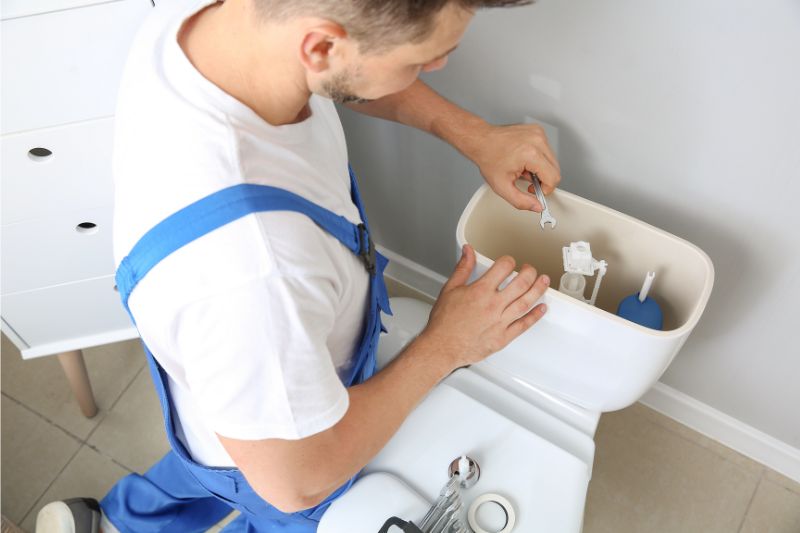
It may sound like a daunting task, but removing a plastic toilet flapper is actually quite simple – if you know the right steps to take.
Whether your current flapper is old and worn, or you’re replacing it with a different model, having the ability to remove and replace your own toilet flappers can save both time and money.
In this guide, we’ll give you step-by-step instructions on how to remove hard plastic toilet flappers safely and easily, so that you don’t have to call a plumber.
How Does A Plastic Toilet Flapper Work?
A plastic toilet flapper is a rubber or silicone valve that fits inside the flush tank. When you press down on the toilet handle, it triggers the flapper to open and allow water from the tank to flow into the bowl.
When you release the handle, the flapper swings back and seals the toilet tank from the bowl, ready for your next flush.
Steps To Remove A Plastic Toilet Flapper
Plastic toilet flappers inside the tank are primarily responsible for regulating when and how much water flows into and out of it, but unfortunately even these hard-working components fail from time to time due to wear or damage.
If you’ve been noticing signs that your plastic toilet flapper isn’t operating properly, don’t fret – our easy-to-follow steps contain all the information you need to replace it yourself.
Tools To Remove Plastic Toilet Flapper
Before you start removing your plastic toilet flapper, make sure you have the following tools handy:
- Adjustable pliers
- Screwdriver
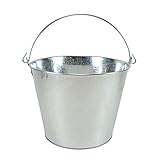
- Bucket or bowl to catch any water from the tank


Shut Off The Water Supply
Turn off the water supply to your toilet by turning off the shut off valve, usually located behind the toilet or near the wall. If you can’t find it, check your home’s main water supply and turn off the valves.
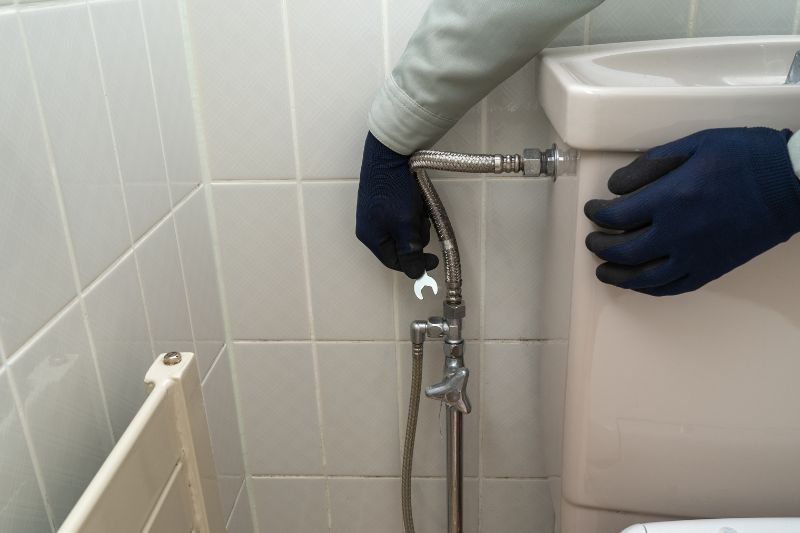
Once you’ve successfully shut off the water supply to your toilet, flush once to get rid of as much water from inside the tank as possible.
Recommended Article: Toilet Water Shut Off Valve Not Working?
Removing The Old Plastic Toilet Flapper
Now that the water has been shut off, you can begin disconnecting the tank fittings. With a screwdriver, remove the nuts and bolts that hold your flapper in place.
Once the bolts have been removed, pull out the flapper carefully and set it aside. Use a bucket or bowl to catch any water that may still be inside the tank.
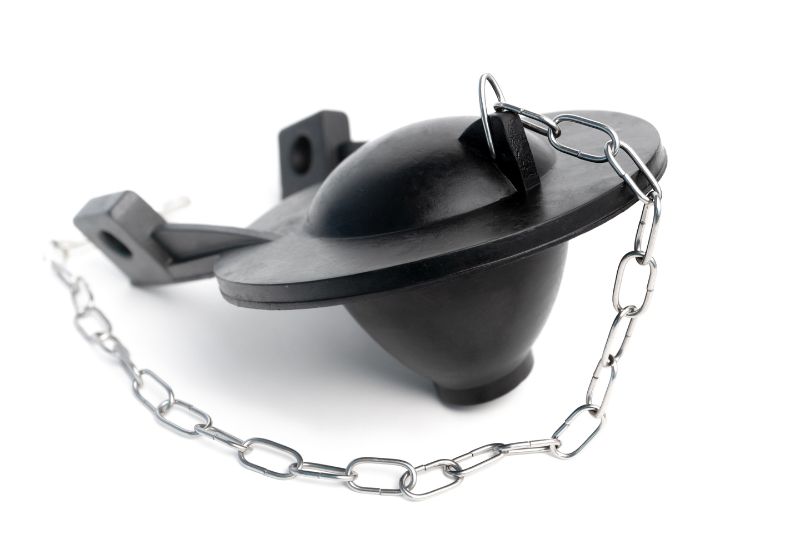
Remove Flapper Chain Link
After the flapper is removed, disconnect the chain link and set it aside. This will allow you to install a new flapper without having to worry about getting the chain link length just right.
Installing A New Plastic Toilet Flapper
Now that your old flapper has been removed, the last step is to install your new plastic toilet flapper.


First, attach the chain link to the flapper and then hook it up to the flush lever arm. Line up the bolt holes on the flapper with those in the tank and insert bolts through both. Secure with nuts and tightening with your adjustable pliers.
Recommended Article: How To Remove Rusted Toilet Tank Bolts
Once the new flapper is in place, turn on the water supply and flush twice to test it out. If everything is working correctly, you have successfully replaced your plastic toilet flapper.
Summary
Removing a worn or damaged plastic toilet flapper can save time and money, and with the right steps it’s actually quite simple.
To remove an old flapper safely and easily, start by shutting off the water supply to your toilet. Then disconnect the tank fittings using a screwdriver, carefully removing the flapper and setting it aside.
Next, disconnect the chain link and remove it. Finally, install your new flapper by attaching the chain link to the flapper and hooking it up to the flush lever arm. Secure with bolts, nuts, and pliers, and turn on the water supply to test out your work.
Related Articles
How To Fix A Low Water Level In Your Toilet Bowl?
How To Easily Remove A Bemis Toilet Seat?
Toilet Fills Up With Water Then Drains Slowly?