We’re an affiliate
We hope you love the products featured in our articles. Just so you know, we may collect a share of sales or other compensation from the links on this page. Thank you if you use our links, we really appreciate it!
Are you struggling to tackle the seemingly impossible task of removing rusted toilet tank bolts? This quick guide offers effective tips on how to remove those nasty old bolts with minimal effort and fuss.
Whether you’re a novice DIYer or an experienced plumbing professional, you’ll find simple steps and helpful advice that will get your job done in no time.
Let’s get started and take care of those rusty bolts once and for all.
Preparation For Removal
Before you attempt to remove toilet tank bolts, inspect the area and make sure that all necessary tools are available.
Tools
The tools needed will depend on the method you choose to remove your rusted toilet tank bolts but ideally you will have some of the following tools on hand:
- Pliers
- Adjustable Wrench
- Lubricants such as WD-40 or Liquid Wrench
- Hammer
- Mini Hack Saw
- Bolt Cutters
- Reciprocating Saw
If possible, use a piece of rag or cloth to cover your hands while handling the rusty parts.


Turn Off Water & Drain
Taking the time to turn off your water supply and drain (flush) your toilet bowl of any remaining water is essential for a successful job.
Soak up residual moisture with a sponge or towel in the tank before loosening bolts, as this will help avoid too much runoff when you begin working on it.
Putting down an old rug or towels beneath can also protect against potential spills onto hardwood floors – making clean-up that much simpler.
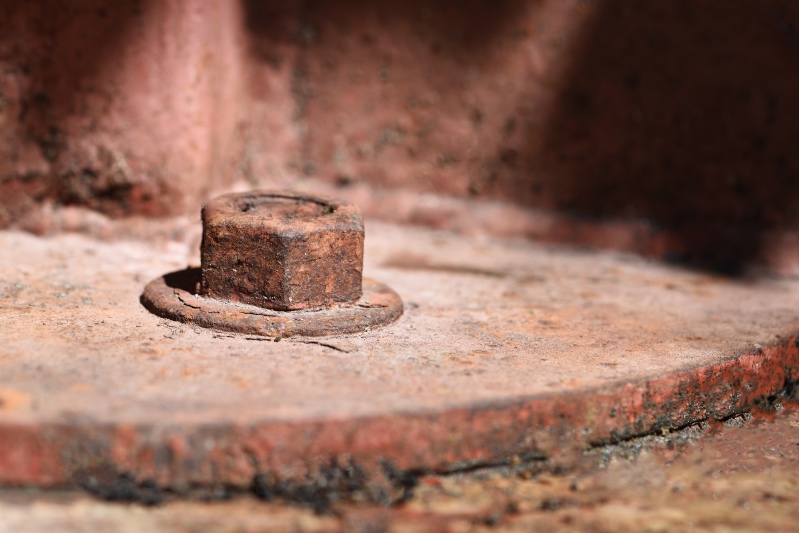
Removing Rusted Toilet Tank Bolts
Removing rusted bolts can be a challenge, especially if they’ve been exposed to water for an extended period.
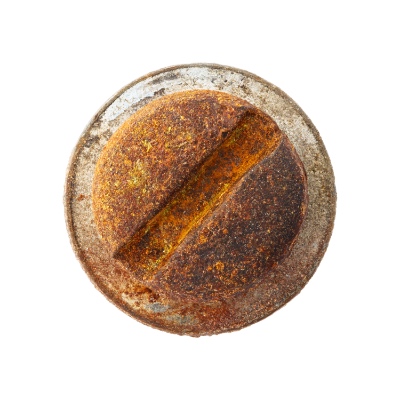
Before you start using a screwdriver, make sure it’s ready to tackle what lies ahead – many times when these kinds of screws are opened up their heads turn into dust.
Fortunately there is still hope as multiple options remain and with enough focus this task can easily be completed.
Methods To Remove Rusty Toilet Tank Bolts
The best way to remove a rusted toilet tank bolt will vary depending on the extent of its corrosion. For this reason, we’ve provided a few different methods below:
Pliers & Lubricants
Apply lubricant such as WD-40 or Liquid Wrench to the bolt head and use a pair of pliers to turn it counter-clockwise until it can be removed. This method works best if the bolt head has not been entirely eaten away by corrosion.
Hammer & Punch
For bolts with a severely corroded head, try using a hammer and punch to break it off then use an adjustable wrench or mini hacksaw to cut it out.
Using Bolt Cutters
If all else fails, you can try using bolt cutters to sever the rusted toilet tank bolt and replace it with a new one. Just be sure to measure the bolt size before cutting so that you get an exact fit.
For tougher bolts, you may need to employ a reciprocating saw with an appropriately sized blade that can be used to cut off the head of the bolt.
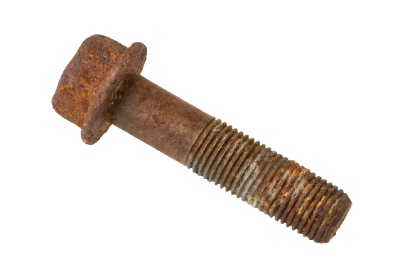
Installing New Toilet Tank Bolts
Once you’ve successfully removed the rusty bolts, it’s time to replace them. Before securing the new toilet tank bolts, make sure they are clean and properly lubricated to prevent future corrosion.
Depending on your preference you can either use brass or stainless steel screws – both will work great. Secure the bolts with a pair of pliers and check to make sure they are tight.
Finally, re-attach the toilet tank lid and turn the water back on.
Recommend Article: Toilet Tank Not Filling Up?
After following these simple steps you should now have a functional toilet with brand new bolts.
Wrap-Up
Removing and replacing rusted toilet tank bolts can be an intimidating task, but with the right tools and a bit of patience it can easily be done.
First, make sure you turn off the water supply and drain the toilet bowl before loosening the screws. Next, choose the right method for removing the bolts based on their level of corrosion; pliers and lubricants work best for screws with a relatively unscathed head whereas a mini hacksaw or reciprocating saw may be necessary for more severely corroded bolts.
Finally, install new toilet tank bolts, secure them tightly and then turn on the water supply.
Overall, removing and replacing rusted toilet tank bolts is not as difficult as it seems; just remember to take the necessary safety precautions and have the right tools on hand for each step of the process.
When done correctly, this job should go smoothly and the result will be well worth it.
Related Articles
How To Fix A Low Water Level In Your Toilet Bowl?
How To Easily Remove A Bemis Toilet Seat?
Toilet Fills Up With Water Then Drains Slowly?