We’re an affiliate
We hope you love the products featured in our articles. Just so you know, we may collect a share of sales or other compensation from the links on this page. Thank you if you use our links, we really appreciate it!
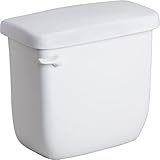
Are you in the market for a new toilet tank? Replacing just the tank, rather than going for an entirely new toilet altogether, can be an affordable and straightforward solution.
Recommended Article: Should A Toilet Tank Touch The Wall?
Not only will this save you money but it also allows you to choose your own design and aesthetic. But how do you go about replacing a toilet tank?
In this article, we’re going to discuss all of the steps involved so that by the time you’ve reached the end, you’ll have gotten yourself equipped with all of the information necessary for successfully replacing a toilet tank.
Steps To Replace A Toilet Tank
We’ll walk through step-by-step how to properly replace your toilet tank with a new one.
Tools
Gather the necessary tools for the job, including a flat head and Philips screwdrivers, a pair of pliers, a adjustable wrench, a rag or sponge, and some silicone caulk.


Water Off
Turn off the water supply to your toilet by turning the shutoff valve beneath the toilet or wherever it is located in your home.
Drainage
Flush the toilet to drain the tank and bowl of water, then use a sponge or rag to soak up any remaining water in the tank.
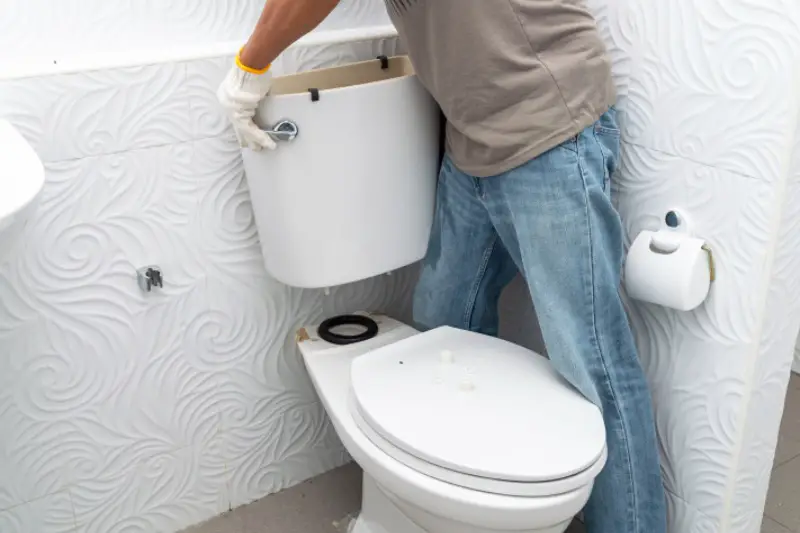
Tank Removal
Remove the tank lid and locate the nuts on the bolts holding the tank to the bowl. Loosen the nuts with an adjustable wrench.
Keep an eye out for the bolts, which are usually inserted through the base of the tank and found close to the center of the bowl. The nuts are located behind the bowl.
Recommended Article: How To Remove Rusted Toilet Tank Bolts?
Once the nuts are loose, carefully pick up the tank and move it aside.
New Tank Installation
Clean around the area where the new tank will be installed.


Rubber Gasket
Don’t overlook this important detail. Whether it came with your new toilet tank or not, ensure proper installation of the rubber gasket.
Alignment
You must check proper alignment with the bowl by lining up any corresponding holes. If necessary, grab bolts, washers, and nuts from a hardware store or use old ones.
Mounting
Place rubber washers over each mounting bolt inside the tank, followed by metal washers and nuts on the outside.

Tighten the nuts on the bolts to secure the tank in place. Use an adjustable wrench to lock the nut in place while turning the bolt with the screwdriver.
Be cautious not to over-tighten as too much force can cause cracks in the porcelain toilet.
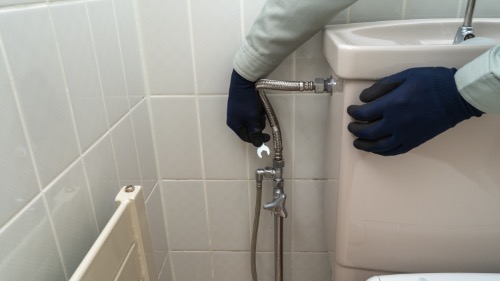
Water On
Turn the water supply back on and check for any leaks.
Finishing Touches
Caulk around the base of the toilet tank to ensure a secure fit. Let it dry before replacing the lid of your new toilet tank.
Wrap-Up
Replacing a toilet tank is an affordable and straightforward solution that will save you money and let you choose the design of your liking. It can be done by following the steps outlined in this article.
First, make sure to gather all of the necessary tools for the job. Then turn off the water supply before draining it completely. When ready, remove the old tank and install the new one, making sure to properly align it. Finally, turn on the water, check for leaks, and finish with caulk around the base of the toilet tank.
We hope this guide provided you with all of the necessary information for successfully replacing your own.
Related Articles
How To Fix A Low Water Level In Your Toilet Bowl?
How To Easily Remove A Bemis Toilet Seat?
Toilet Fills Up With Water Then Drains Slowly?